
Key Takeaways
- Reduce material volume: Hollow thick sections where the load case allows it.
- Add powder escape holes: Trapped powder adds weight and prevents material recovery.
- Improve packing efficiency: Compact geometry and batch ordering can lower machine-time allocation per part.
- Consolidate assemblies carefully: Fewer separate components can reduce cleaning, handling, and assembly labor.
Introduction
To reduce SLS 3D printing costs, engineers should focus on the factors that usually drive quoting: material consumption, build-space occupancy, post-processing labor, and order quantity. Selective Laser Sintering is already efficient for complex functional parts because the powder bed supports the geometry without dedicated support structures, but an unoptimized design can still consume unnecessary powder and build volume.
The most reliable savings come from redesigning the part before production rather than simply requesting a lower unit price. The following methods help reduce cost while protecting strength, dimensional accuracy, and usability.
1. Hollow Thick Sections to Reduce Material Volume
Large solid regions consume more material and may also increase cooling time. Where the load case permits, hollowing can significantly reduce the mass of an SLS part.
A practical starting point is a uniform wall thickness of roughly 2-3 mm, followed by engineering review for local loads, inserts, threads, and impact zones. The correct value depends on material, overall size, geometry, and service conditions.
For material selection, compare the stiffness and durability requirements of SLS PA12 nylon with the higher-elongation behavior of SLS PA11 nylon.
2. Add Powder Escape Holes
A hollow cavity will retain unsintered powder unless the geometry includes a clear exit path. Trapped powder can increase part weight and complicate cleaning.
Use at least two access points where practical:
- one opening for airflow;
- one opening for powder discharge;
- a diameter large enough for the selected powder and cleaning method;
- a location that can be reached during depowdering.
A 5 mm opening is a common design starting point, but smaller or larger holes may be appropriate depending on geometry and post-processing access.
3. Design for Efficient Nesting and Build Packing
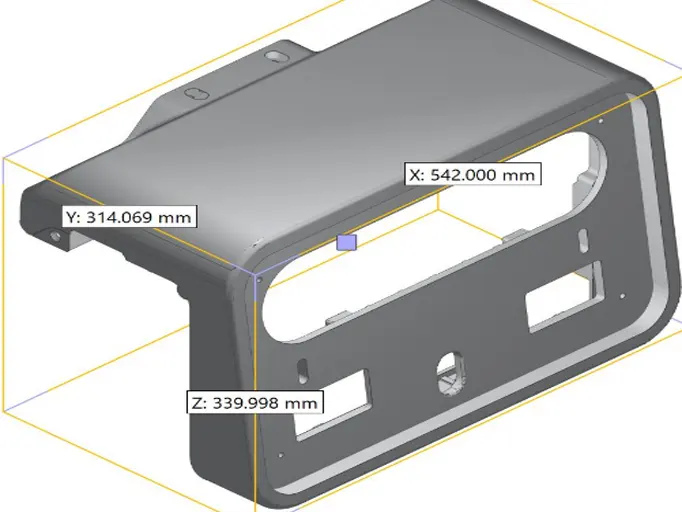
SLS machines are most economical when the build chamber is used efficiently. Parts with long, thin projections or awkward bounding boxes can occupy more build volume than their material weight suggests.
Consider whether the design can be reoriented, shortened, separated into interlocking modules, or grouped with other components. However, do not split a part only to improve packing if the joint creates unnecessary assembly risk or weakens the final product.
4. Consolidate Assemblies Where It Adds Value
SLS can produce channels, hinges, clips, ducts, and interlocking features that are difficult to manufacture conventionally. Combining multiple components into one printed part can reduce:
- part count;
- manual cleaning and inspection;
- fasteners and adhesives;
- assembly time;
- inventory complexity.
The best candidates are assemblies where consolidation does not prevent maintenance, replacement, or quality inspection.
5. Use Batch Production to Lower Unit Cost
One-off prototypes carry setup, build preparation, unpacking, and finishing costs that are distributed across only one part. Ordering several identical or related components together can improve packing density and spread fixed labor across the batch.
For low-volume production, request pricing at several quantity levels rather than assuming a linear unit-price reduction. A batch of 20, 50, or 100 parts may have very different economics depending on geometry and chamber utilization.
6. Avoid Unnecessary Surface-Finish Requirements
Every secondary process adds cost. Dyeing, polishing, sealing, coating, painting, and precision machining should be specified only where they support function or appearance.
Separate surfaces into three groups:
- as-printed acceptable;
- cosmetic finish required;
- critical functional surface requiring machining or sealing.
This prevents premium finishing from being applied to hidden or noncritical areas.
7. Validate the Cost-Saving Changes Before Production
A cheaper geometry is not a better design if it introduces warpage, weak walls, trapped powder, or inaccessible features. Before release, review:
- minimum wall thickness;
- local stress concentrations;
- hole and channel accessibility;
- dimensional tolerances;
- thread and insert strategy;
- post-processing requirements;
- inspection access.
For a project-specific review, explore our SLS 3D printing and prototyping services, then submit the model through the quotation and CAD review page. The engineering team can identify material-volume, nesting, and finishing opportunities before production.
Conclusion
The most effective way to reduce SLS 3D printing costs is to optimize the complete part, not just one dimension. Hollowing suitable regions, adding accessible powder escape holes, improving nesting, consolidating assemblies, batching production, and limiting unnecessary finishing can lower total cost without sacrificing function. A CAD review before release is usually the fastest way to confirm which savings are realistic for a specific geometry.
Related Case Studies
See how we have delivered results in similar projects
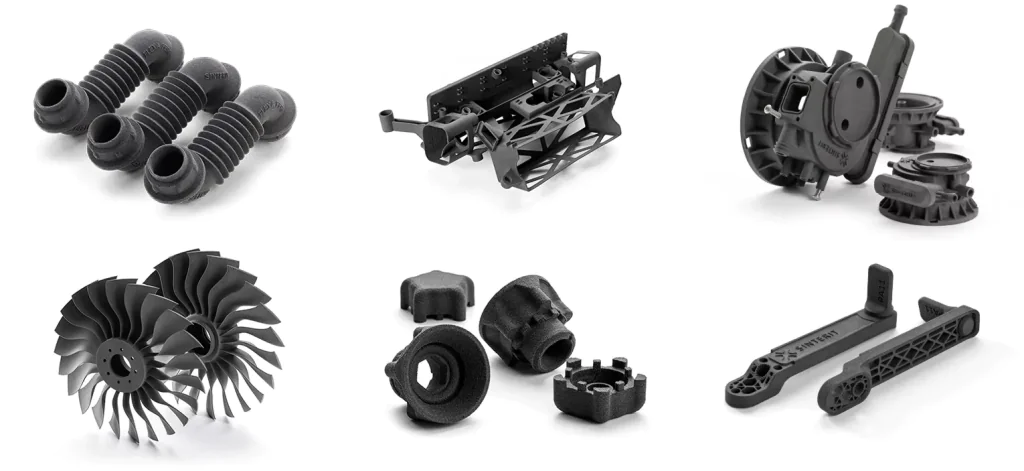 Industrial
Precision Small Parts Production
Batch production of precision small parts for multiple industry clients with complex geometries.
 Industrial
Industrial Robot Gripper
Custom end-of-arm tooling for industrial robots with complex internal channels.
 Medical
Spinal Orthosis Solution
Custom 3D printed spinal braces providing personalized solutions for scoliosis patients.